")
How Can We Help?
👀 Managing Safety Observations
Safety observations are a key part of maintaining a safe and compliant workplace. In Take5™️ Connect, you can easily record, track, and manage safety observations made on-site to ensure that potential hazards are identified and addressed promptly. This guide will walk you through how to create and manage safety observations within the system.
Step 1: 📋 Navigating to Safety Observations
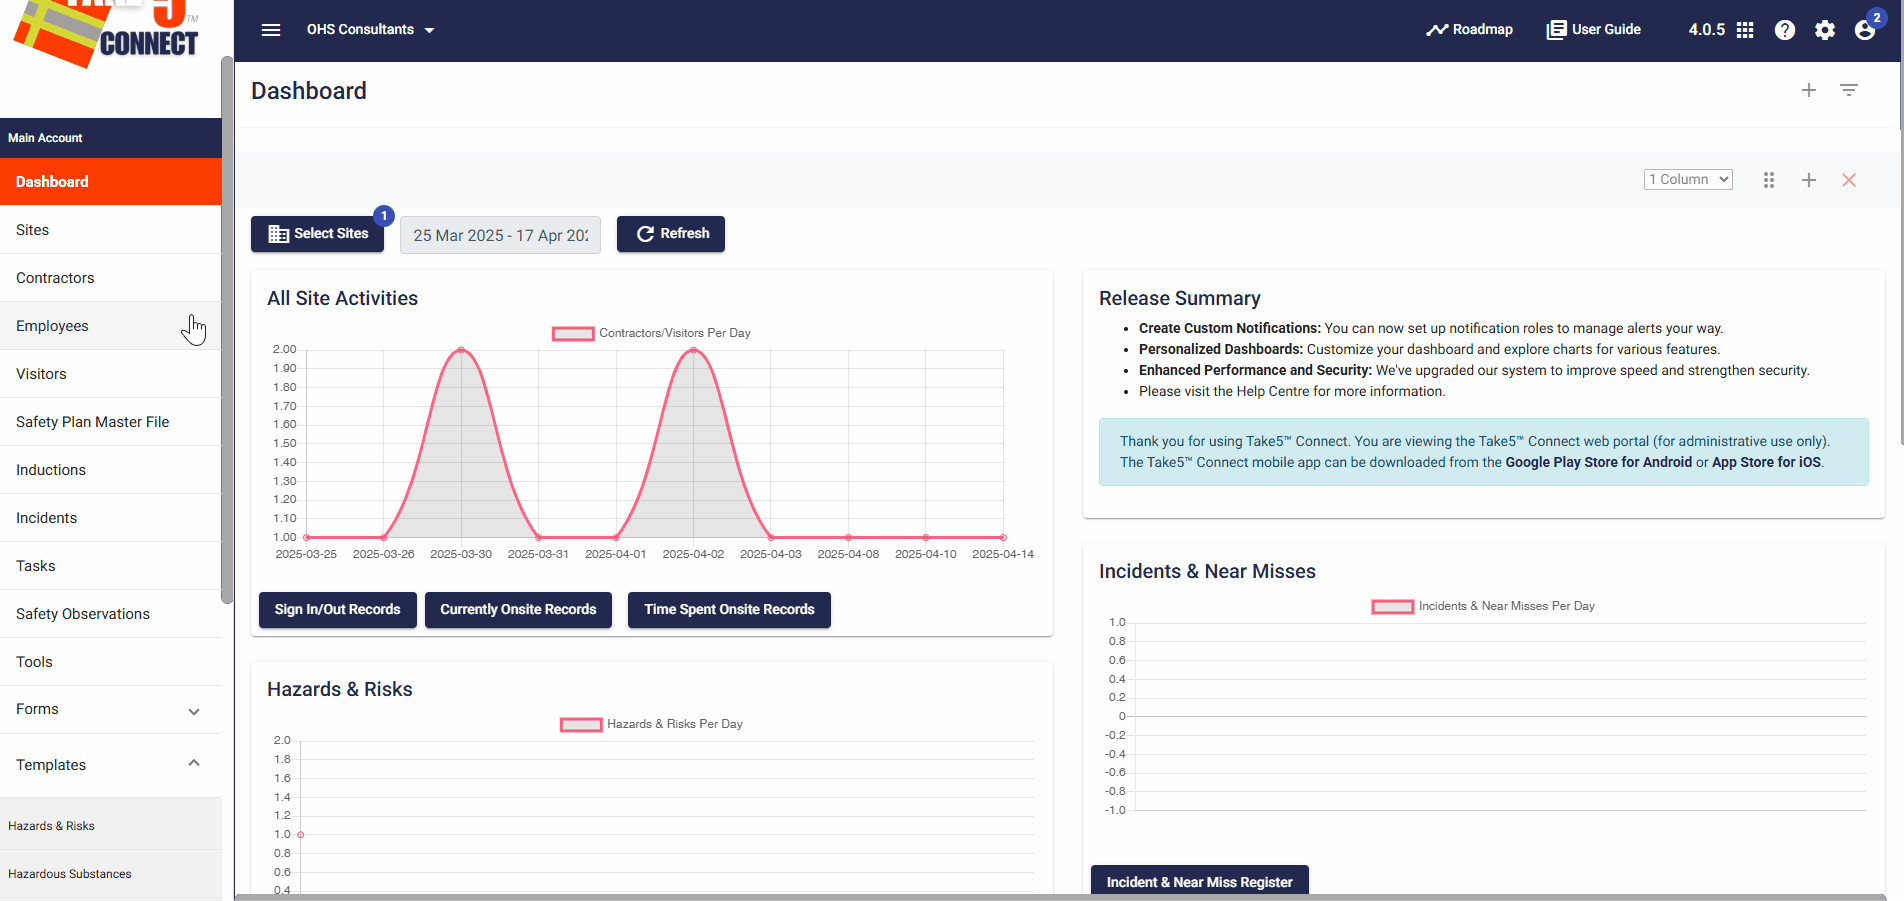
- From the main dashboard, go to the Safety Observations section in the left-hand menu.
- Click on Safety Observations to open the list of existing observations or to create a new one.
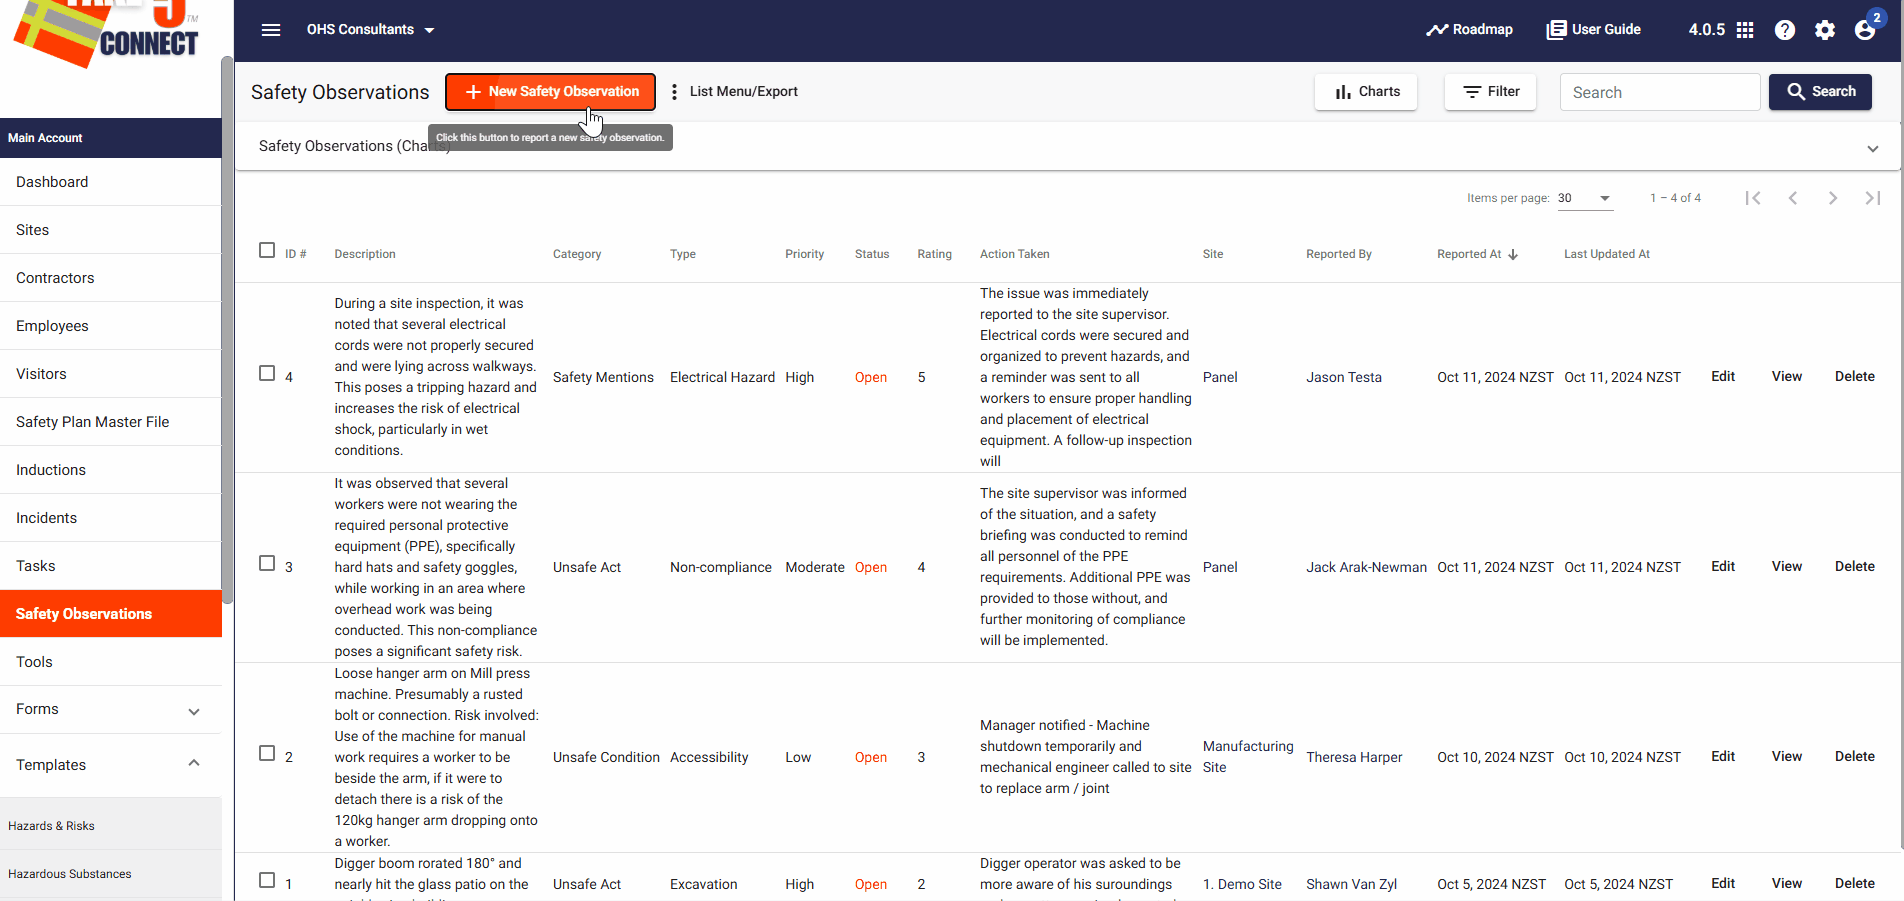
Step 2: 📝 Creating a New Safety Observation
- Once in the Safety Observations section, click the New Safety Observation button.
- Fill in the details of the observation, including:
- Observation category
- Type
- When it was reported
- Priority
- Status
- A Rating
- A brief description of safety observation
- And the Action Taken
- Assigned To: Assign the observation to a person or team responsible for addressing the issue. You can select associated sites, contractors, users, reporters or add files.
- After entering all necessary details, click Save to submit the observation.
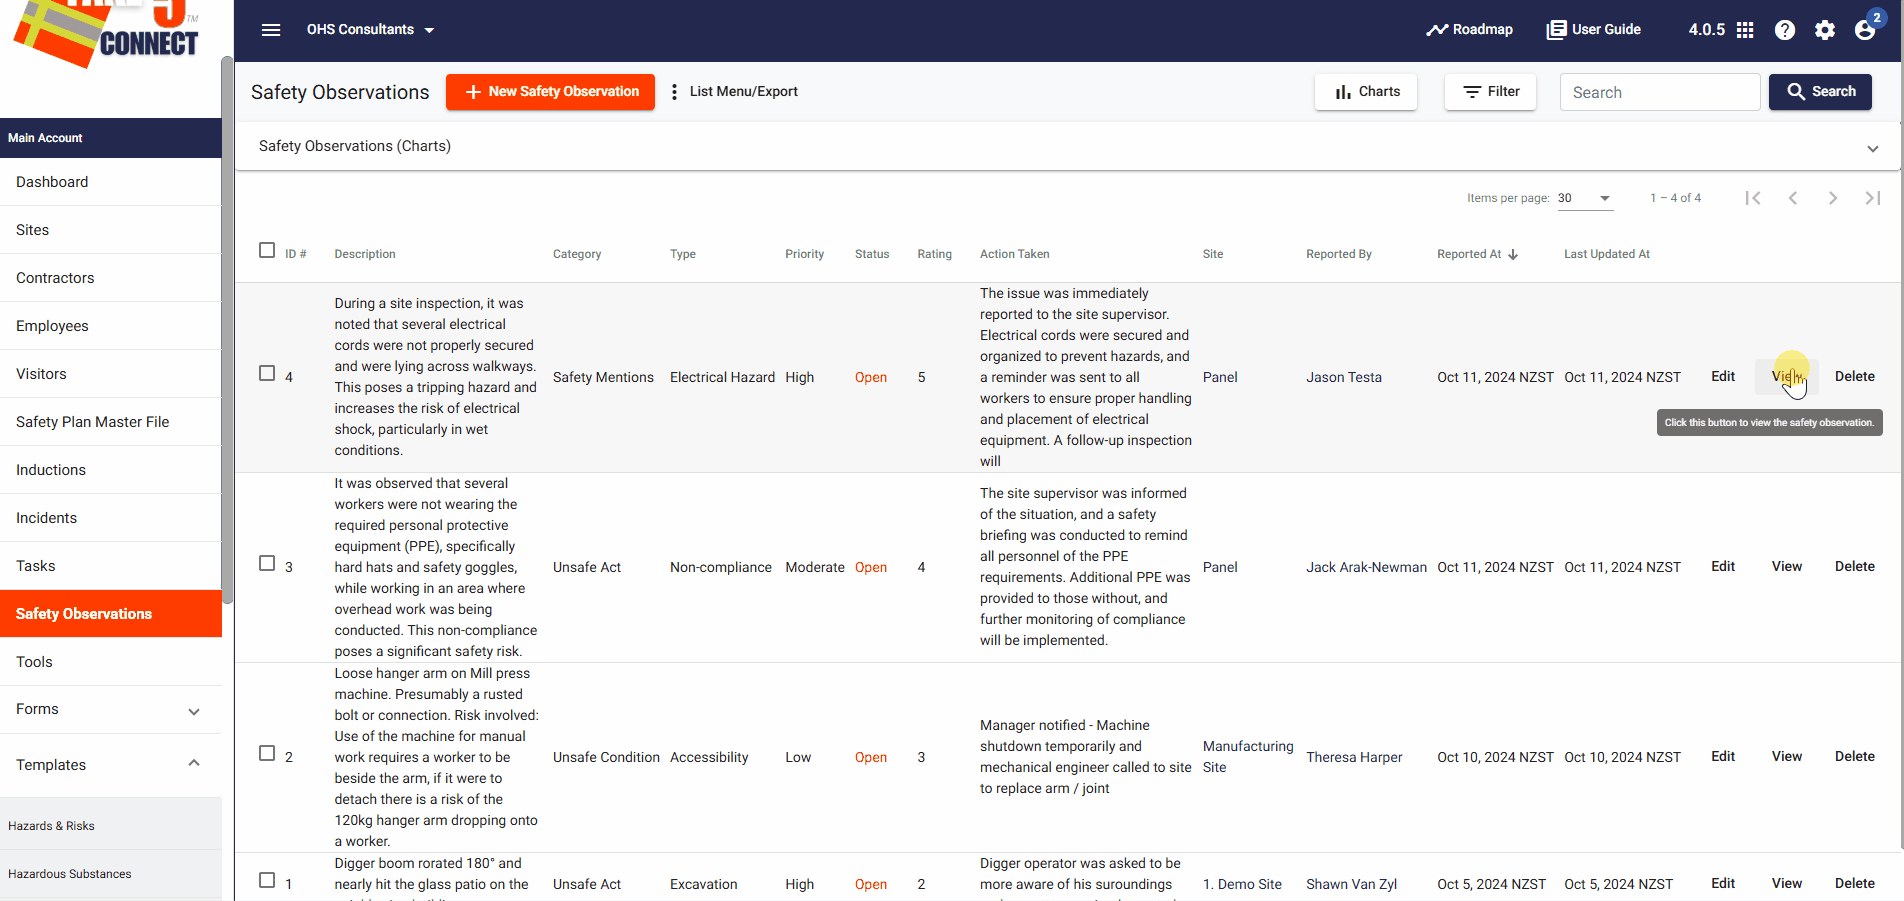
Step 3: 🔄 Managing Safety Observations
To manage your safety observations:
- In the Safety Observations list, locate the observation you want to edit or review.
- Click View on the observation to open it and view detailed information.
- Edit Observation: If you need to make any changes, click the Edit button to update the details, such as the severity level or actions taken.
- Delete Observation: If the issue has been resolved, you can mark the observation as closed by selecting the Delete option.
Step 4: 🔍 Searching and Filtering Observations
To find specific safety observations:
- Use the Search Bar at the top of the Safety Observations page to search by keywords, location, or title.
- You can also apply filters to narrow down your search, such as:
- Category: Filter by observation type (hazard, near-miss, etc.).
- Type: The type of safety observation.
- Priority: Filter by prioritiy level.
- Date Range: Narrow down observations by date.
- Status: Filter by status (open, closed, etc.).
- Ratings: The rating associated with the observation.
- Sites, Contractors, Users, Reporter
- Click Apply Filters to update the list.
Step 5: 📊 Add Corrective Actions
- Select view next to the necessary safety observation.
- Along the top bar navigate to the Corrective Actions tab.
- Click the Add Corrective Action button to add one to the observation.
- Within adding this corrective action select a task title, time zone, due date and priority.
- Then you can select a Site, User or File to be associated with the corrective action.
- You can also choose whether you would like the task to be created for each individual.
- After saving the corrective action it will become a Task and will be sent to the selected users or sites to be completed.
Step 6: 📊 Add Hazards/Risks
- Select view next to the necessary safety observation.
- Along the top bar navigate to the Hazards & Risks tab.
- Click the Add Hazard/Risk button to add one to the observation.
- Then you will be prompted to title the hazard/risk, provide a brief description, select whether it is significant or not, select the status.
- Then fill out the necessary details under the: Initial Risk Assessment, Hazard/Risk Controls, Residual Risk Assessment.
- Then Save the Hazard/Risk.

❓ Troubleshooting
- Observation not saving? Ensure all required fields are filled out, including the observation description, category, and action required.
- Can’t find an observation? Double-check your search filters or use the search bar to locate specific observations by keyword.
- Observation status not updating? Ensure your internet connection is stable and try refreshing the page before making updates.
📞 Need Help?
If you need further assistance or encounter any issues, don’t hesitate to reach out to our support team:
- Email: support@take5connect.com
- Phone (NZ): 0800 582 535