")
How Can We Help?
-
Account
- 👨💼 How to Change Your Username, Email, Password and Employer
- 🧑💼Download the Mobile App (Google Play Store and Apple App Store)
- 🧑💼 How to Enable or Disable Automatic Sign-Outs for Your Sites
- 🧑💼 How to Make Someone Your Main Contact
- 🧑💼 How to Add a Company Logo to Your Account
- 🧑💼 How to Enable or Disable Notifications
-
Charts & Graphs
- 📊 How to Create and Manage Dashboard Charts
- 📊 How to Create and Manage Charts & Graphs
- 📊 How to Access and Manage Sites Charts & Graphs
- 📊 How to Access and Manage Account Inductions Charts & Graphs
- 📊 How to Access and Manage Incidents Charts & Graphs
- 📊 How to Access and Manage Tasks Charts & Graphs
- 📊 How to Access and Manage Safety Observation Charts & Graphs
- 📊 How to Access and Manage Form Charts & Graphs
- 📊 How to Access and Manage Hazards & Risks Charts & Graphs
- 📊 How to Access and Manage Audits & Inspections Charts & Graphs
- 📊 How to Access and Manage Toolbox Talk Charts & Graphs
- 📊 How to Access and Manage Site Activity Charts & Graphs
- 📊 Understanding Chart Descriptions
- 📊 How to Access and Manage Messages Charts & Graphs
-
Contractors
-
Digital Signatures
-
Employees
- 👷♀️How to Add Employees as Managers of Sites
- 👷♀️How to Add and Manage Employees
- 👷♀️How to Import and Export Employee Details
- 👷♀️How to Add Training & Competency Details and Certificates to an Employee's Profile
- 👷♀️Unlocking a User After Multiple Failed Login Attempts
- 👷♀️Accessing User Profiles
-
Form Builder
- 📋 How to Use Form Categories
- 📋 How to Set Up Reoccurring Forms
- 📋 How to View and Link Forms to Sites
- 📋 All About Form Settings
- 📋 Setting Up Form Notifications
- 📋 Exporting Forms
- 📋 Assigning Forms
- 📋 Creating Forms and Inductions
- 📋 Approving, Rejecting Form Responses, and Viewing Audit Logs
- 📋 Adding Images and Videos into Forms and Inductions
- 📋 Viewing, Assigning, and Unassigning Forms
- 📋 Adding Display Conditions to Forms
- 📋Completing Forms and selecting Form Templates
- 📋How Forms are typically processed
-
Hazards/Risks
-
Incidents
-
Inductions
-
Inspections/Audits
-
Messages
-
My Pre-Qualifications
-
TA/JSA/SWMS
-
Tasks
-
Templates
-
Reporting
-
Sites and Subsites
-
Safety Observations
-
Take5™️ Connect Mobile App
- 📱 How to Report a Hazard or Risk via the Mobile App
- 📱 How to Enable or Disable GPS Tracking in the Mobile App
- 📱 How to Add Training/Competency Documents to Your Profile in the Mobile App
- 📱 How to Enable and Disable Notifications in the Mobile App
- 📱 How to Access the Admin Menu in the Mobile App
- 📱 How to Add Multiple Files in the Mobile App
- 📱 How to Sign Into the Mobile App
- 📱 How to Create a Toolbox Talk in the Mobile App
- 📱 How to Access Your Inductions in the Mobile App
- 📱 How to Complete a Task Assigned to You in the Mobile App
- 📱 How to Create a Task in the Mobile App
- 📱 How to Complete Approved Work from a Form in the Mobile App
- 📱 How to Select a Form Template in the Mobile App
- 📱 How to Complete Forms via the Mobile App
- 📱 How to Report a Safety Observation in the Mobile App
- 📱 How to Report an Incident through the Mobile App
- 📱 How to Conduct an Audit through the Mobile App
- 📱 How to Use Geofencing in the Mobile App
- 📱 Geofencing: Philosophy of Operations in Take5™️ Connect
- 📱 Troubleshooting GPS Issues in the Mobile App
- 📱 How to Sign Into a Site via QR Codes in the Mobile App
- 📱 Why Take5™️ Connect Requires Background Location Access
- 📱 How to Delete Your User Profile in the Mobile App
- 📱 How to Update Your Login Credentials and Employer in the Mobile App
- 📱 How to Download and Set Up the Take5™️Connect Mobile App
- 📱 How to Complete the Daily Site Hazard & Noticeboard Message Acknowledgment
- 📱 How to Manually Sign Out of a Site in Mobile App
- 📱How to Create a Toolbox Talk Using Templates in Take5™ Connect (via Mobile App)
- 📱 How to Add Snippets to a Toolbox Talk in the Take5™ Connect Mobile App
- Show Remaining Articles (14) Collapse Articles
-
Sites
- 🏢 How to Create a Site
- 🏢 How to Clone a Site
- 🏢 How to List, Remove or Archive Sites
- 🏢 Emergency Evacuation Plans
- 🏢 How to Add a Noticeboard Message to a Site
- 🏢 How to Add & Remove a Document to a Site
- 🏢 Managing Site Toolbox Talks
- 🏢 How to Create, Update, Print, or Delete QR Codes
- 🏢 How to Claim a QR Code
- 🏢 How to Scan a QR Code Using Your Phone Camera
- 🏢 How to Create a QR Code for a Site or Multiple Sites
- 🏢 How to Manage Task Analysis Documents for Existing Sites
-
Safety Plans
-
Notifications
< All Topics
Print
💬 How to Send Messages
PostedMarch 27, 2025
UpdatedJune 15, 2025
ByAmie
Sending messages via Take5 Connect™️ allows you to quickly communicate with users, contractors, and team members. Follow the steps below to send messages effectively.
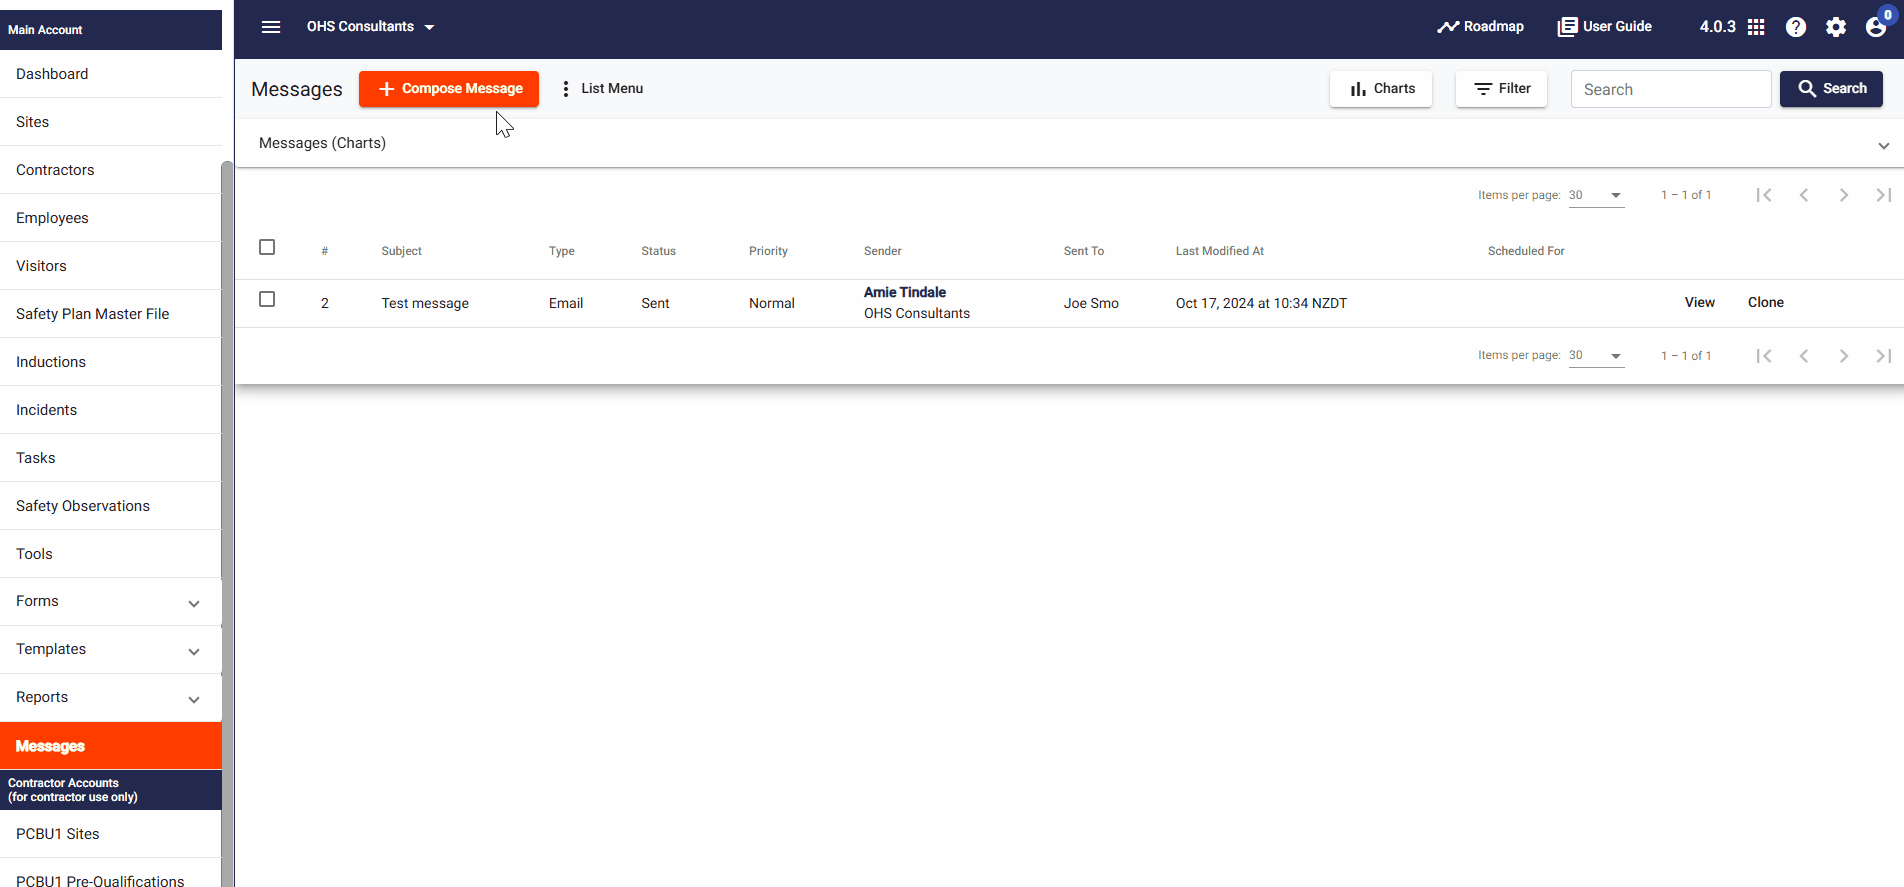
Step 1: 🔑 Access the Messages Menu
- Log in to Take5 Connect™️.
- From the main menu, navigate to the Messages tab.
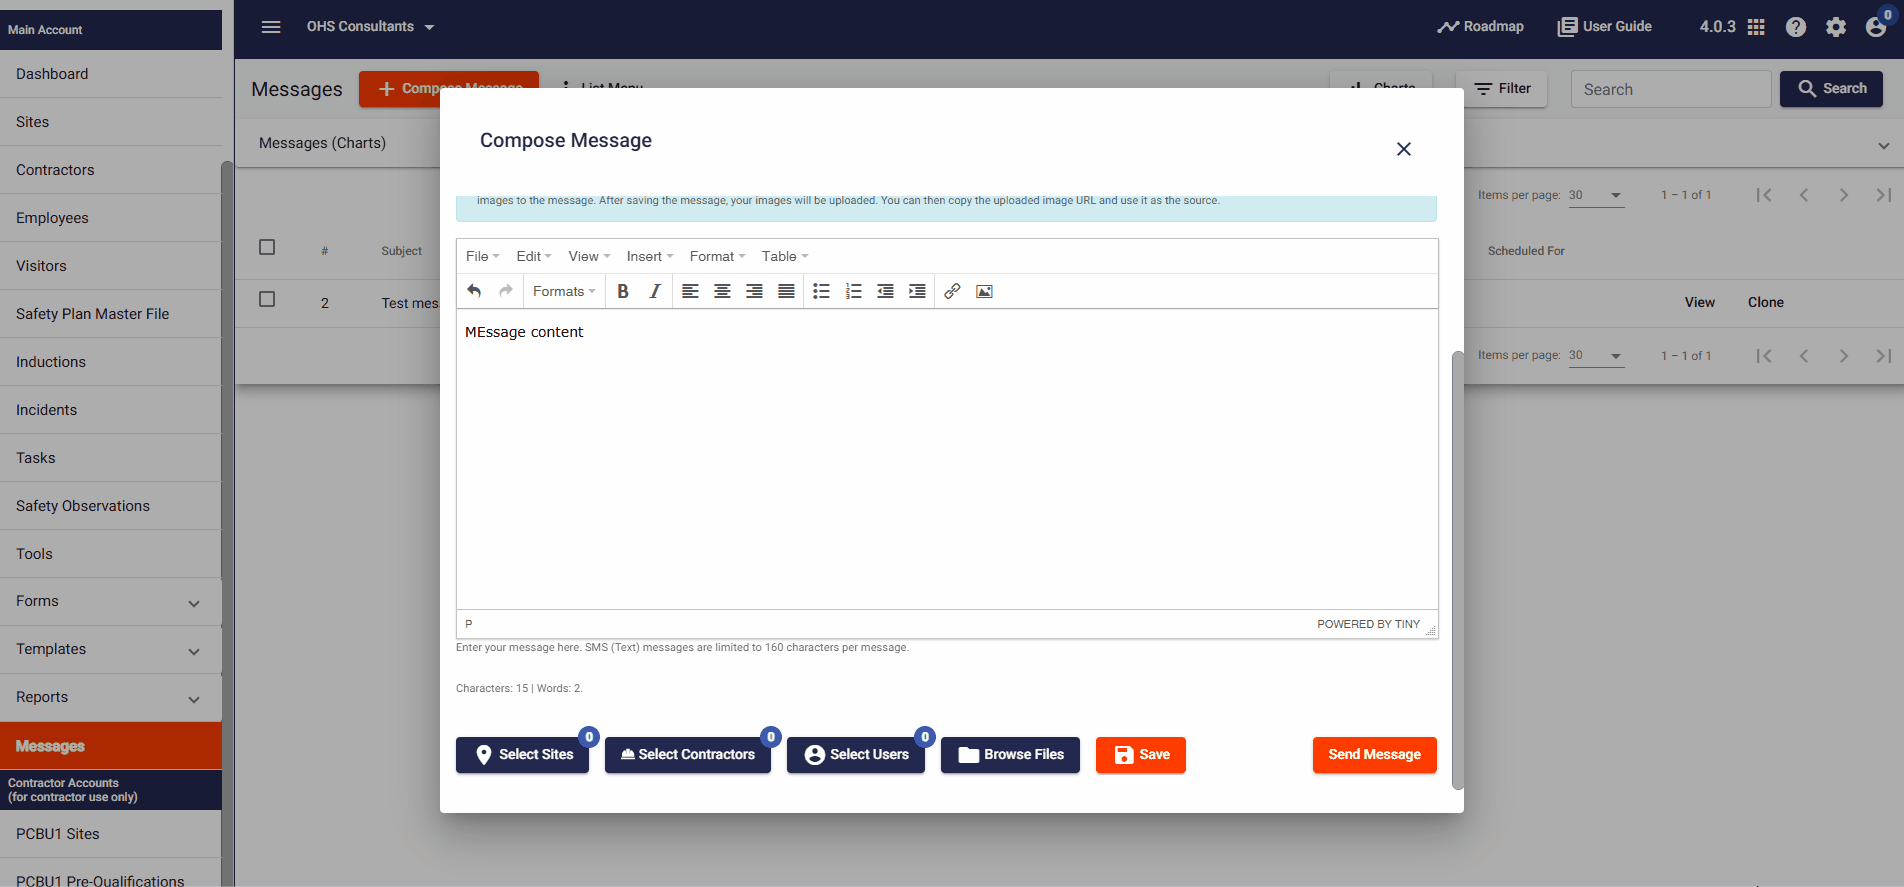
Step 2: 📋 Compose a Message
- Click Compose Message.
- Choose the message type: Email, Push Notification, or SMS (SMS requires enabling).
- Set the Priority: low, normal, high, or critical.
- Optionally, schedule the message for a later time by selecting the date and time on the calendar.
- Enter the Subject and Message Body.
- Attach files or include a website link if needed.
Step 3: ✏️ Select Recipients
- Choose Select Users or Select Contractors.
- Pick the users or contractors you wish to send the message to and click Select.
- If sending to contractors, you can choose to send it only to Admins by toggling the option on or off.
Step 4: 📑 Send or Save the Message
- After filling in the message details, click Send Message.
- If you do not want to send it immediately, click Save to save the message as a draft.
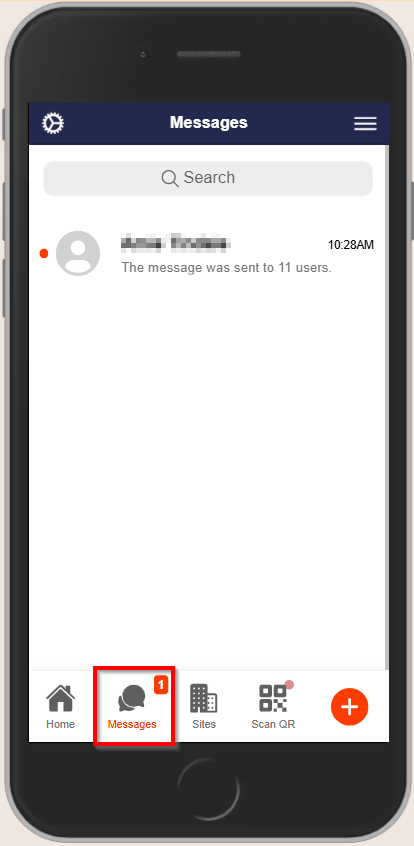
Step 5: 👁️ View Sent Messages
After sending, you can view the message in the Messages Tab on the web portal or the My Messages section on the mobile app. You can also see the message recipients and their status.
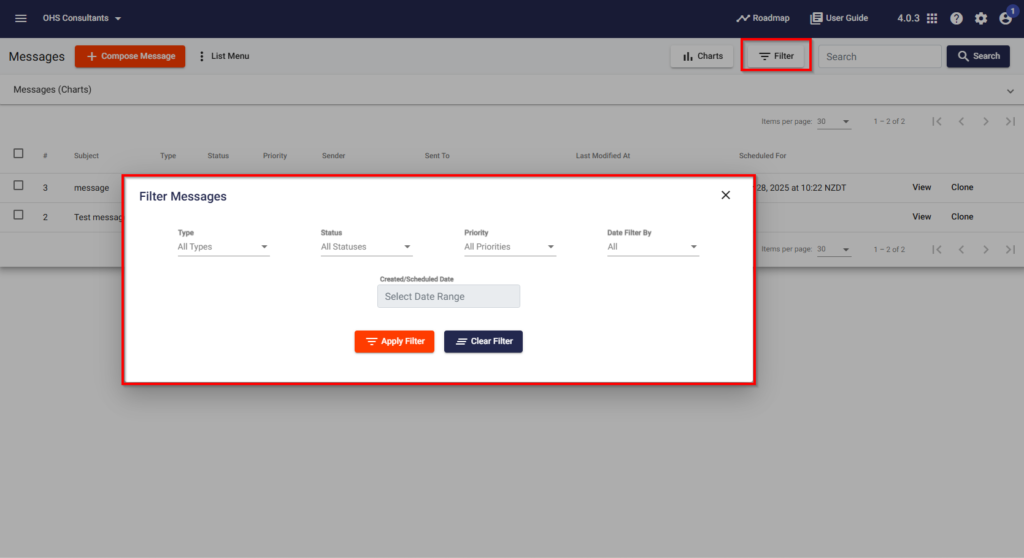
Step 6: ⚙️ Filter Messages
To filter messages, click on the Filter button in the Messages Tab and choose your filter options.
📞 Need Help?
For additional support or questions, contact our team at:
📧 Email: support@take5connect.com
📞 Phone (NZ): 0800 582 535